
Alrighty, for the longest time I have been wanting to make homemade soap. I was a little scared and wasn't sure I could do it. However, my very good/sweet friend Julie mentioned she was making some soap. So I asked...well, more like begged her to let me help with the process. She said YES!!! We followed the recipe on a really neat blog by Rhonda from Australia called "Down to Earth"...she has a fantastic soap recipe and there's all sorts of tips and advice. Click here to view the soap recipe itself...Click here for some more great information about making homemade soap. Rhonda has been doing this for DECADES..so she really knows what she's talking about. Or just pay a visit to her blog called "Down to Earth"...click here.
It's real important to proof the recipe before you start making it. There's a link on Rhonda's post for a soap calculator...it'll tell you the correct ratio of lye to water, and the correct ratio of oils..
Here is the basic list of ingredients that we used in the soap. As you can see, it's a very easy "six" ingredients.

Here's a gift I brought to Julie...three hand-knit French bath mitts, as a "thank you" for letting me help with making homemade soap!!! Thanks, Julie!!!!!!

Here are some of the basic tools we used. We also used wooden spoons, a rubber spatula, a digital scale AND two thermometers....

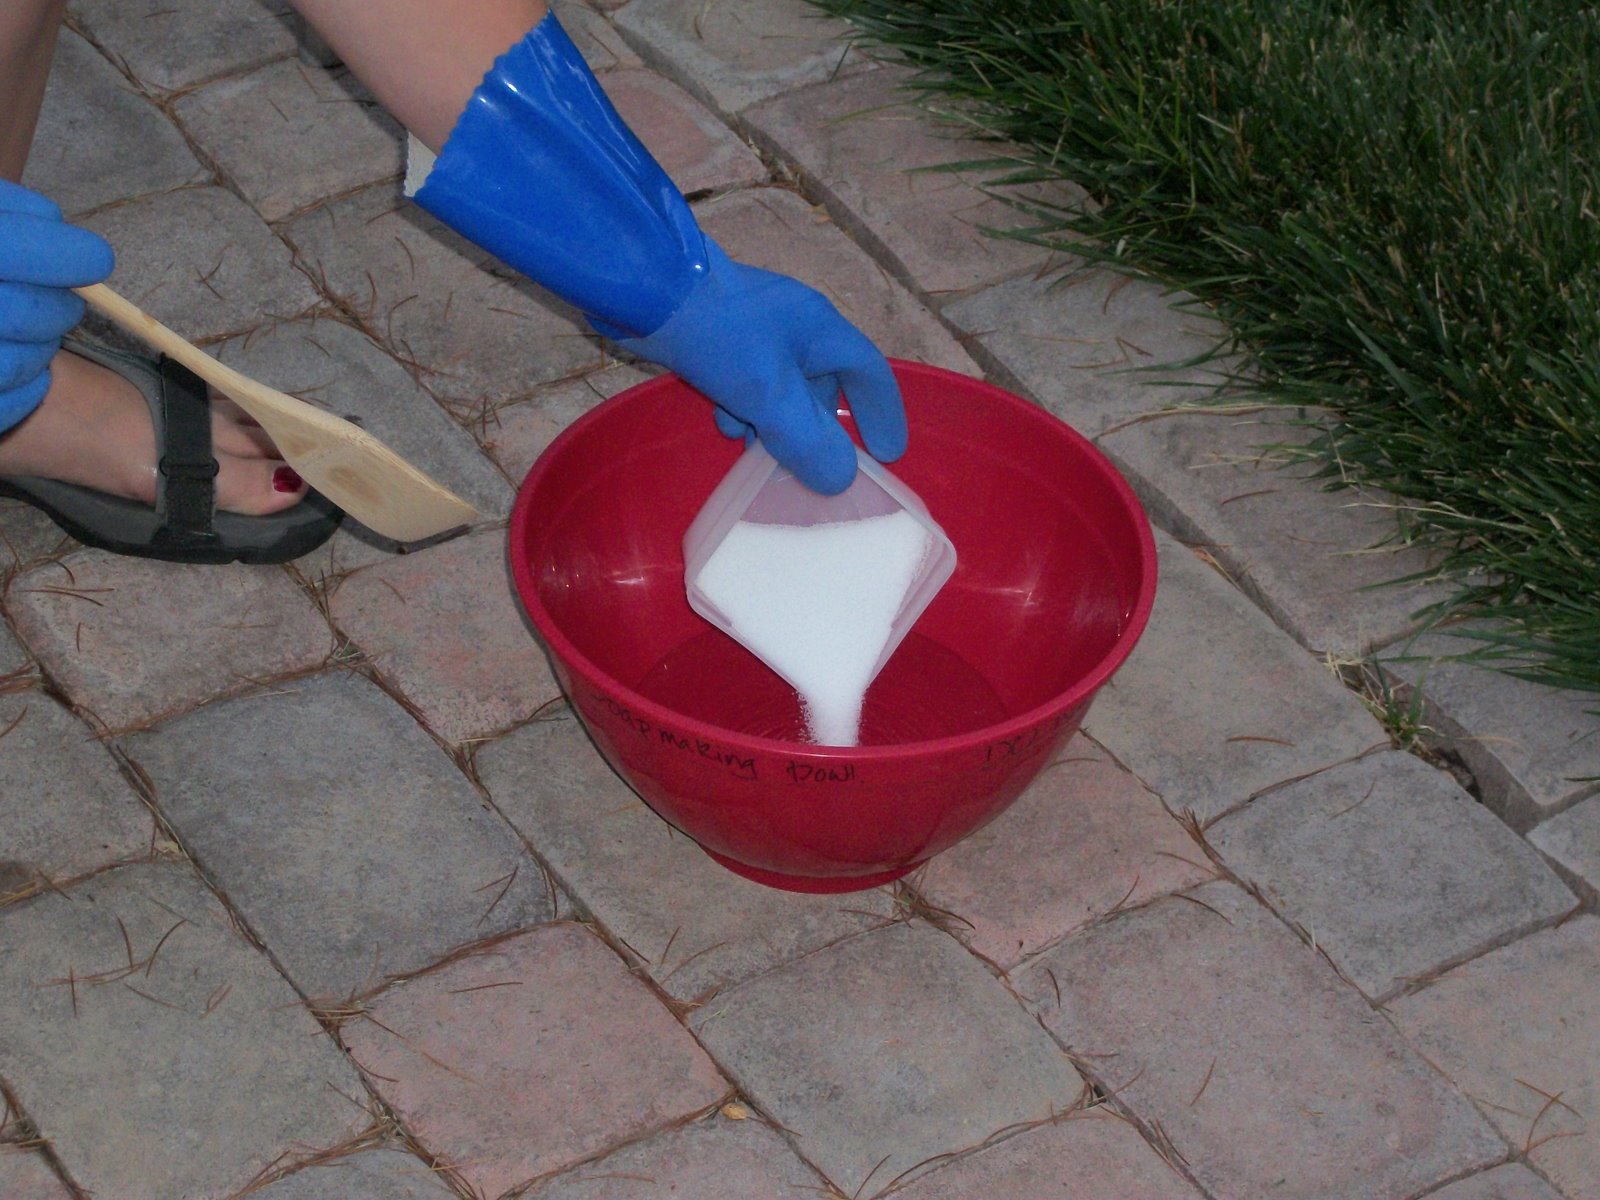
First, we measured out the correct amount of water...and by "we" I mean Julie...these are her gloved hands. I helped by taking all the photos :) :) :) Again, thanks Julie!!!

Next, you need lye crystals...also known as caustic soda. I'm not sure where to buy this...I think Julie picked this up at a hardware store...just ask around!!! Lye is lye is lye!!!...at least that's what I understand...

The next step is to measure out the lye crystals. It's important to do everything carefully and slowly when working with lye...


It's important to add the lye TO the WATER...in that order. Otherwise it could splash and get on your skin..and that will burn/irritate it quite a bit..We took this part outside. When the lye mixes with the water, it causes a chemical reaction that will heat up the water to about over 80 degrees..and causes fumes...so outside is best, the fumes dissipate very quickly...Also, if you can wear safety gear the first few times you make soap...
Julie mixed the lye into the water until it dissolved. We'll both admit this part was a bit anti-climactic. We were expecting more drama...ie) visible smoke and fumes rising from the little red bowl...like a smoking magical cauldron in a movie...but nope, this is all it did...Oh, it smelled...but that was only for a few seconds..then it dissipated...poof!!!!

Measuring the temperature of the lye water mixture with a stick thermometer. Once it cools down to the required temperature we brought it back into the house....meanwhile, inside the kitchen....

...it was time to mix the oils together, while the lye water mixture was cooling a little bit....first was to measure out the rice oil...

...then the olive oil and....

...last but not least, the coconut oil. We used two different brands of coconut oil....this is the one Julie had..and I used a brand by a company called "Spectrum"..both are organic...the one I used is "extra virgin coconut oil, unrefined and expellar pressed".....


Next it was time to mix and melt the oils together..and heat them up to the required temperature....we heated the oil up in the microwave for a few seconds to help it reach the necessary temperature...we were very careful with this...

Ahh...here is a photo of my lovely friend Julie holding the stick mixer....Can you say "Are you ready to reach trace?"..Yes, I think we can...hee hee hee :) :) :)

Use a wooden spoon, hold it over the oil mixture..and carefully/slowly pour the lye water mixture over the spoon..and let it gently pour into the oil mixture. This helps to prevent air bubbles in the mix. You can already see it starting to go opaque in color.....

TO BE CONTINUED...OTHERWISE, THIS POST WOULD BE THIRTY THOUSAND PHOTOS LONG!!!
Well, not that many...but I wanted to break it down a little bit...I'll post the second half as soon as I finish writing it up!!!!
That's the news from Oregon so far...Love and hugs, Heather :) :) :)
6 comments:
Hi Heather, How fun is this!!!!!!!!!!? Love it. I want to try it, but it will have to be another day. I am sooooooo busy. Life on a farm is work work work!
You are always so sweet with me.
Well we will all be studying together tomorrow. It will be so fun! Can't wait to see what the Lord has for us all! He will meet us for sure!
Blessings sweet pea. Linda
@Linda...true that and "amen sister friend :) :) The soap was so much fun...I just posted the second/final half a few seconds ago. If I lived in Kansas, I'd come over and make soap for you!!!! It went relatively fast...just an hour or two...the "trickiest" part was the lye being added to the water..but that went so well, it was anti-climactic. You do so much for everyone!!!! You are a real blessing from God :) :) When you do make soap, let me know. You can click on "Down to Earth" on my sidebar or "Gerry's Soap N Stuff"..she has a nice big button on my sidebar. She knows EVERYTHING about soap..and she's a real nice lady, just like you :) :)
I"m excited about that Bible study..I've always loved the book of Ruth...and Esther too for that matter. It gives me hope as a singnle lady that God can do amazing things and bring unexpected blessings if we'll only just put our lives in His hands!!!
Love and hugs, Heather :) :) :)
it does seem like a scientific process to make it to make sure you get everything right with the measurement of this or that. My daughter would make soap, but she never ventured into recipes with lye, she got soap bases that she would melt then add fragrance and color and pour into molds. this that you and your friend did sounds so much more intricates
betty
@Betty/That corgi :)
It is a little bit...but it's worth it to get the correct ratio of lye, water and oils. There's a soapcalculator you can use to find the correct ratios...to get a good result. It really is so much EASIER than it looks...the whole process was fast. The long part is just letting it cure for 6 weeks. I don't know about other types of soap making yet..since I'm still new at this. Either way...homemade soaps are always a good thing :) :) I might try adding scent to the next batch!!! Thanks for visiting me, Betty!!!! Have a great week. Lots of love and hugs, Heather :) :) :)
Hello Heather dear
How lovely that you made the soap with your friend. Surely that must be the best way to start off on something new like this. Julie looks dangerous with that stick blender. LOL! May this be the first of many batches of soap.
Thanks for the lovely comments on my blog.
Hi Rhonda Jean :) :) :)
Yay!!! Thanks for paying me a visit :) :) :) I love your blog. So does my friend Julie...and one time she wrote me and said "Have you heard of a blog called Down to EArth?" Apparently we were both following your blog and didn't know it ;) :) Your soap recipe is very easy!!!! I can say that it's not scary at all...quite the opposite...it's so MUCH FUN :) :)
Julie was great with that stick blender. We were trying to get a funny photo :) :) It came out well!!!! I'm already thinking about a second batch of soap :) :)
You are welcome about the comments. You are a nice lady and nice comments are a given :) :) :) Have a great rest of the week!!!
Much love and hugs from Oregon, Heather :) :) :)
Post a Comment